Building a Multi-Tenant Application: Strategies for Multi-Tenancy in Laravel
As SaaS (Software as a Service) applications continue to rise in popularity, multi-tenancy has become a crucial architectural strategy. A multi-tenant application allows multiple customers (tenants) to share the same application while keeping their data isolated. Laravel, with its rich ecosystem and flexibility, provides an excellent foundation for building scalable multi-tenant applications.
In this blog, we’ll explore what multi-tenancy is, the key strategies to implement it in Laravel, and how to choose the right approach for your project.
What is Multi-Tenancy?
In simple terms, multi-tenancy means a single application instance serves multiple tenants, each with their own isolated data.
Types of Multi-Tenancy:
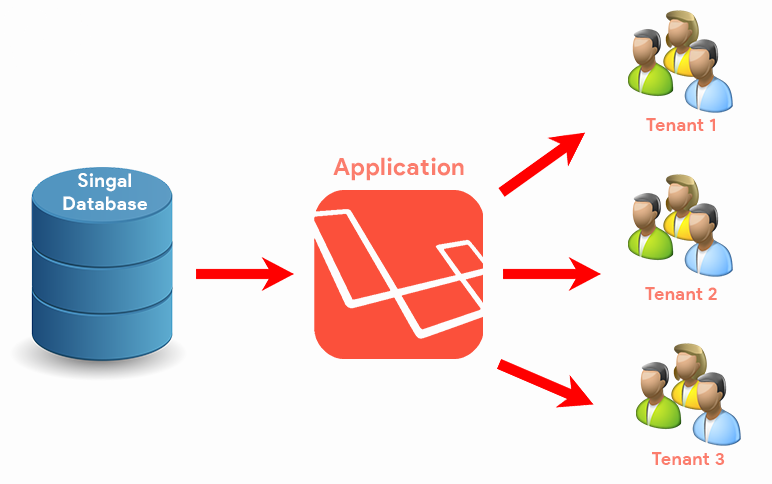
- Single Database – Shared Schema:
All tenants share the same database and tables. Tenant data is identified using a tenant_id or similar field. - Single Database – Separate Schema (PostgreSQL):
Each tenant has its own schema within the same database. Supported mainly by PostgreSQL. - Multiple Databases:
Each tenant has a separate database. Offers maximum isolation and is ideal for high-security needs.
Choosing the Right Strategy
| Strategy | Pros | Cons |
|---|---|---|
| Shared Schema | Easy to set up, efficient | Complex queries, lower isolation |
| Separate Schema | Logical isolation | Limited DB support |
| Multiple Databases | High isolation, secure | More complex to manage |
Choose based on scalability, data isolation needs, and the complexity of your application.
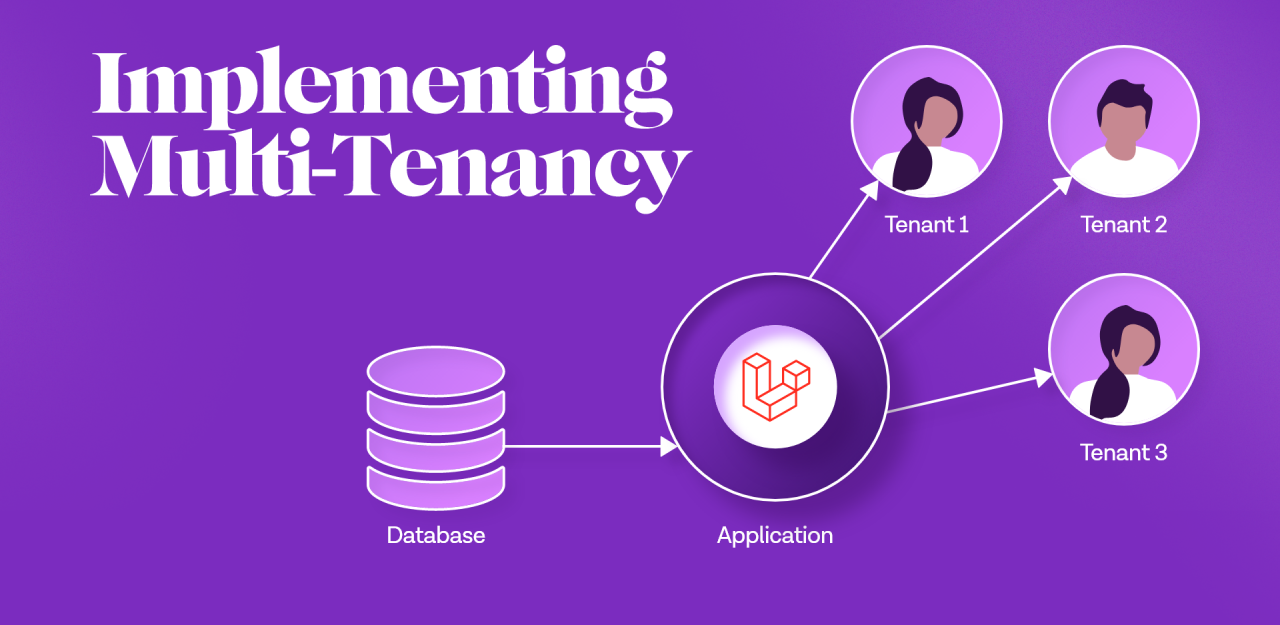
Implementing Multi-Tenancy in Laravel
Let’s walk through how to implement multi-tenancy in Laravel using the multiple database strategy, which is one of the most popular approaches for modern SaaS platforms.
Step 1: Set Up Tenant Identification
You can identify tenants via:
- Subdomain (e.g., tenant1.example.com)
- Domain (e.g., tenant1.com)
- URL path (e.g., example.com/tenant1)
- Authenticated user
Create a middleware to capture and resolve tenant identity:

Step 2: Configure Database Connection Dynamically
Once you know the tenant, dynamically configure the database connection:

Step 3: Use a Central Database for Tenant Management
You need a central database to manage tenant metadata (e.g., company name, database credentials, billing).
Structure:
- Central DB (contains tenant info, user accounts)
- Tenant DBs (isolated data for each tenant)
Step 4: Use Laravel Packages (Optional but Recommended)
Several community packages can help manage multi-tenancy more efficiently:
- tenancy/tenancy (by Tenancy for Laravel): Full-featured multi-tenancy package.
- [Hyn/multi-tenant (deprecated but influential)]
These tools offer features like automatic database creation, route isolation, tenant events, and more.
Step 5: Tenant-Specific Migrations and Seeding
Run migrations specifically for tenant databases:

You can also write custom Artisan commands to automate creating and migrating tenant databases.
Considerations for Production
- Security: Make sure tenant data cannot be accessed by others.
- Backups: Implement per-tenant backups for disaster recovery.
- Monitoring: Log tenant activity and performance separately.
- Billing: Track usage per tenant for scalable pricing.
Conclusion
Building a multi-tenant application in Laravel is achievable and scalable when approached strategically. Whether you go with a shared schema or isolated databases, Laravel’s service container, configuration system, and ecosystem allow for flexible implementation.
By choosing the right multi-tenancy strategy and leveraging tools like tenancy/tenancy, you can confidently build applications that scale with your customer base and provide reliable, isolated services to each tenant.